How to Solder Copper to Aluminum at 350°F with Super Alloy 1 and a Propane Torch.
Mike uses a propane torch to solder a small piece of copper tubing to an aluminum plate. Joining dissimilar metals is a useful technique that may be utilized for many applications including:
- Home and Commercial Refrigeration
- Metal Sculpting
- Ornamental Art
- Foreign Auto Air Conditioning Repair
- Air Conditioning Repair
Super Alloy 1’s low working temperature enables anyone to solder copper to aluminum quickly and easily.
Begin by preparing the metal. Use an abrasive material to remove all oxidation from the aluminum and copper just prior to soldering. Failure to pre-clean may result in improper bonding of the filler rod.
Next, gently and broadly preheat the copper and aluminum, focusing the heat more on the aluminum side. Aluminum dissipates heat quickly, while copper retains heat, so heating the dissimilar metals in this fashion will bring both metals to the proper working temperature at approximately the same time.
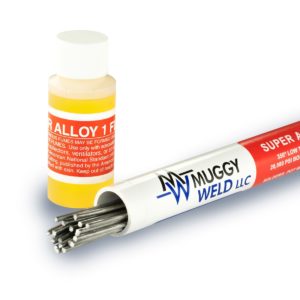
Immerse the rod into the flux and apply at the joint while continuing to heat the metals. The flux will change from golden to brown colored when the metals reach 350°F, indicating it’s time to add the low temperature solder rod.
After applying the solder, allow the bonded parts to cool naturally, then remove any excess flux with warm water and a wire brush.
This same technique can be used to solder any number of metals, in any combination: zamak, zinc, pot metal, aluminum, brass, bronze, steel, galvanized, stainless and more. Super Alloy 1 solder and flux can be applied with nearly any torch, due to its low melting temperature: butane, propane, soldering iron, handheld torch
TIPS:
- Never heat the copper red hot. Super Alloy 1 solder flows at a considerably lower temperature than red hot copper.
- If the flux turns black, you’ve overheated it. Remove flux with warm water and reapply.
Disclaimers:
Please visit https://www.aws.org/Standards-and-Publications/Free-Resources/#YourResources prior to using Muggy Weld products, and adhere to all AWS welding safety guidelines.
Further product safety information is available at http://muggyweld.com/safety-guidelines
Muggy Weld LLC shall not be liable for any loss, injury, claim, liability, or damage of any kind resulting in any way from (a) your use of this Site, (b) any services or products obtained from this Site, (c) any errors in or omissions from this Site, (d) the unavailability or interruption of this Site or any features thereof, (e) any content contained on this Site.
MSDS sheets available with purchase from MuggyWeld.com, upon request.
Check Out These Products
-

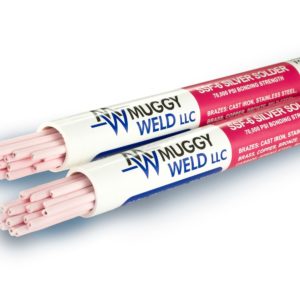
SSF-6 Silver Solder Rod: Flux-Coated SSF-6 56% Brazing Rod
Price range: $69.00 through $260.00High-Strength, 56% Silver Solder Rod🌡 Melting Temperature 1150 / 621 ⇄︎ Bonding Strength 70000 psi, 482.63 MPa 🔧︎ Sizes Available (in) 1/16 🔧︎ Sizes Available (mm) 1.58 -

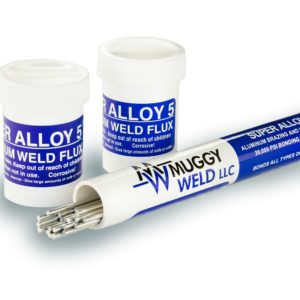
Super Alloy 5 Aluminum Welding and Brazing Rod
Price range: $69.00 through $109.00600°F aluminum welding, brazing, and soldering rod. Ideal for aluminum boat repair and cast aluminum.🌡 Melting Temperature 600 / 317 ⇄︎ Bonding Strength 30000 psi, 206.84 MPa

