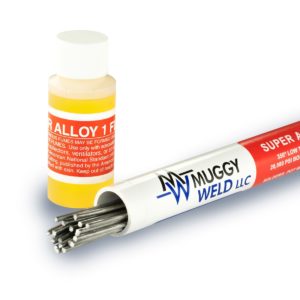
How to Use Muggy Weld Pot Metal Repair Kit to Solder Pot Metal or Zinc Die Cast Parts
Another Muggy Weld customer testimonial
I was very impressed with your pot metal solder. In my opinion it worked better than I thought possible. After I soldered the pot metal pieces together, I intentionally tried to break the solder off and could not do it. I was truly stunned to see how strong this Muggy Weld pot metal solder was. As you can see in the pics, this was not a large piece of pot metal with a large work area–quite the contrary. The pot metal table legs had very small surfaces to work with. Following your instructions and videos, anyone can solder pot metal.
To create a heat resistant work area, small pieces of board were soaked in water for about 30 minutes prior to applying solder.
Clean the zinc die cast parts with a wire brush to remove all oxidation, then place on the wet board.
To solder zinc die cast, hold a propane torch perpendicular to the work area. Broadly heat around the part, making sure not to overheat any of the zinc die cast.
Watch the flux–it turns root beer brown when the zinc die cast has reached 350°F. This is an indication it’s time to apply the solder rod.
Heat around the zinc die cast piece with flux, test with solder rod until it begins to flow.
Step away, repeat with additional solder and flux.
Allow repair to air cool.
2 of the 3 legs were broken in the same spot. I used a Dremel tool, handheld file and emory cloth sandpaper to form and finish the solder. I dabbed some gold paint over the solder to help color match the paint of the table legs.
Note: Please observe all AWS Safety & Health Guidelines when using Muggy Weld products.


