Braze Aluminum A/C Lines with Weld Strength
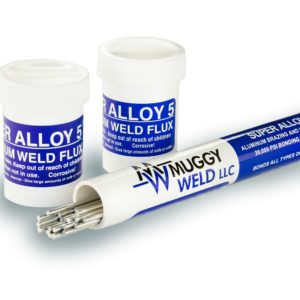
2 pieces of aluminum air conditioning duct are joined with the braze technique using Super Alloy 5 aluminum repair kit and an oxyacetylene torch. Although these aluminum parts are of differing thicknesses, Super Alloy 5 bonds the metals quickly and easily.
To get started, dip the rod into the powder flux and apply it to the base metal.
Pre-heat the base metal well, focusing the heat on the largest piece and moving the heat from side to side, heating evenly.
When the flux transforms from powder to liquid, this is an indication that the base metal has reached the 600°F working temperature and it’s time to deposit the aluminum welding rod. Apply the rod, being careful to keep the heat source moving to avoid burning the flux. If necessary, apply more flux to achieve better flow.
After finishing the repair on one side, turn the part over to repeat the process on the other side.
Flux is easily removed with lukewarm water, and the part back is now ready to be reinstalled in the vehicle.
TIPS:
- Always add flux every time you add rod to increase bonding strength
- The flux acts as an absolute temperature guide–watch until it turns into a liquid, then apply the braze rod
- Notice the technique: heat the base metal first, then the base metal and the rod
- Aluminum dissipates heat quickly, so it’s important to keep the flame broadly moving to ensure your base metal stays above 600°F
- Oxyacetylene is necessary when working with large masses of aluminum to counteract the rapid heat dissipation
- Brass nozzles are useless on large or thick aluminum masses
- If the braze rod forms a ball, this is an indication that the base metal is too cold. Just apply more heat and continue
Note: Please observe all AWS Safety & Health Guidelines when using Muggy Weld products.


