Aluminum Repair: A Beginner’s Guide to Soldering Aluminum to Brass with Super Alloy 1
Once again we revisit beginning welder Tawny to learn how to repair aluminum with Super Alloy 1 low temperature solder. This video features Tawny using a propane torch and Super Alloy 1 to solder brass to aluminum at a very low bonding temperature.
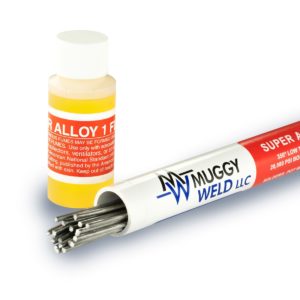
In the past, many welders used some form of glue to bond aluminum to brass, due to their differing compositions. Thankfully, Super Alloy 1 makes easy work of aluminum repair, enabling this one multi-metal solder to repair not only brass and aluminum, but a host of other metals–individually or in any combination: bronze, steel, copper, pot metal, stainless, white metal, or Zamak in any combination, at 350°F.
Muggy Weld products are specially designed to enable anyone to repair aluminum, with a simple propane torch. Pre-clean the parts with an abrasive prior to beginning your repair. This can be achieved with Dremel, wire wheel, grinder, sandpaper, sand blasting etc. depending on the part.
Tawny dipped the rod into the flux and then dripped it into the center of the brass hex nut, allowing it to seep into the joint. She adds heat circularly to broadly heat the parent metal. When the flux changed from honey to root beer brown, she knew it was an indication that the parent metal had reached the proper working temperature. She gently added the aluminum solder rod around the circumference of the hex nut and used her torch to flow the solder and flux front to back and side to side.
She allowed the part to air cool, then removed the residual flux with warm water and a wire brush. The end result is a perfect aluminum repair–at only 350°F
This was Tawny’s first attempt at aluminum repair, and she did a great job! Thanks, Tawny!
Disclaimers:
Please visit https://www.aws.org/Standards-and-Publications/Free-Resources/#YourResources prior to using our welding products, and adhere to all AWS welding safety guidelines.
Further product safety information is available at https://muggyweld.com/safety-guidelines
Muggy Weld LLC shall not be liable for any loss, injury, claim, liability, or damage of any kind resulting in any way from (a) your use of this Site, (b) any services or products obtained from this Site, (c) any errors in or omissions from this Site, (d) the unavailability or interruption of this Site or any features thereof, (e) any content contained on this Site.
MSDS sheets available with purchase from MuggyWeld.com, upon request.
Check Out These Products
-
Sale!

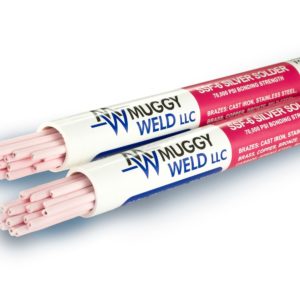
SSF-6 Silver Solder Rod: Flux-Coated SSF-6 56% Brazing Rod
Price range: $59.00 through $300.00High-Strength, 56% Silver Solder Rod🌡 Melting Temperature 1150 / 621 ⇄︎ Bonding Strength 70000 psi, 482.63 MPa 🔧︎ Sizes Available (in) 1/16 🔧︎ Sizes Available (mm) 1.58 -
Sale!

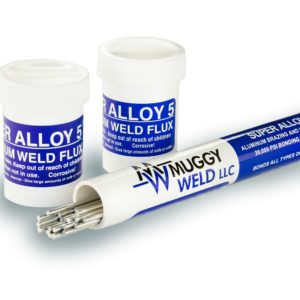
Super Alloy 5 Aluminum Welding and Brazing Rod
Price range: $59.00 through $109.00600°F aluminum welding, brazing, and soldering rod. Ideal for aluminum boat repair and cast aluminum.🌡 Melting Temperature 600 / 317 ⇄︎ Bonding Strength 30000 psi, 206.84 MPa

