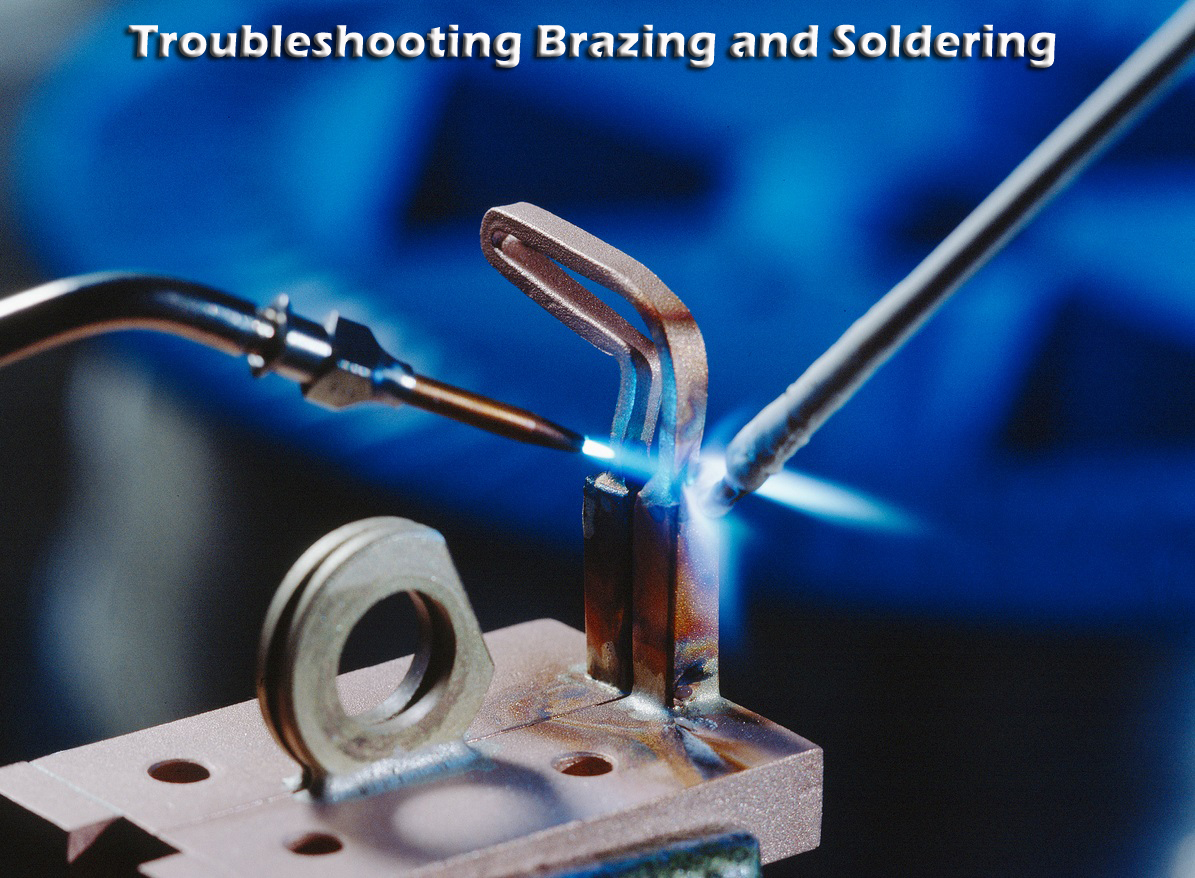
Troubleshooting Common Brazing Problems
There are several courses, certifications, and training guides available to optimize the brazing and soldering processes. But as stringent as these skills and core knowledge may be to position welders for success, mistakes do happen, and no industry professional is impervious to errors. This is where knowing the intricacies of troubleshooting brazing and troubleshooting soldering comes into play. Because even though issues can (and will) surface, the trick boils down to quickly identifying the issues and understanding the proper ways to solve them.
Troubleshooting Brazing – Common Issues and Solutions
- Problem: Tip Keeps Falling Off/Breaking
Believe it or not, brazing tips that continuously break or fall off is not uncommon to experience, especially if you are new to the trade. All in all, not only can it be highly frustrating to have your brazing tip continuously fall off and/or break, but it can also get expensive and time-consuming.
If this is something you are dealing with, begin troubleshooting brazing by ensuring that you have the right braze alloy involved and the right tip material/flux for the specific project. Other reasons for this issue could be that your joint is too thin, the placement is not centered, it is not clean, or you are not using the proper heating.
- Problem: Weak Braze Bonds
As a general overview, brazing is a metal-joining process where two or more metals are bonded together using a melted filler metal. In successful scenarios, this said bond will be durable and strong to produce long-term brazing outcomes. However, if you notice that your bonds are lackluster or weak, then there could be a few different reasons.
If you find that your metal-joining efforts have resulted in weak bonds, first be sure that the surface you are bonding is not rusted; for troubleshooting brazing 101, most brazing filler will not bond to a rusty surface. Along with this, be sure that the plate you are using is clean, as oil and grease left in the notch will inadvertently contaminate your braze joint and thus weaken the bond. Fortunately, repair kits such as Muggy Weld’s Super Alloy 5 include a powder flux that is chemically designed to remove all oxidation and impurities when brazing aluminum.
- Problem: Gas Entrapment
Gas entrapment, aka gas getting trapped in the metal during the bonding process, can significantly damage project results due to rising surfaces and bubbling. Gas entrapment can also cause weld metal porosity, which is known as a cavity-type defect formed by hydrogen, oxygen, nitrogen, or zinc fumes getting trapped during solidification.
For this one, there are a couple of different troubleshooting solutions that can help reduce or eliminate the gas entrapment risk. First, be sure that you are using the right flux. When flux heats up, it creates gas, and that gas needs to escape from the joint properly. The wrong flux can hinder that escape and keep the gas trapped inside. The next is ruling out over or underheating. Underheating and overheating a braze joint can cause the same type of gas/fume trapping effects as a wrong flux can.
Troubleshooting Soldering – Common Issues and Solutions
- Problem: Disturbed Joint
In most cases, a disturbed joint results from movement that occurs (either mechanical or human-influenced) while the alloy itself is solidifying. The clear-cut sign this is happening is if your joint appears rough or frosted looking and perhaps features a ripple pattern on the joint surface.
To resolve this, all you will need to do is reheat the joint and allow it to cool down properly. Troubleshooting soldering more, you can stop this from happening again down the road by scoping out/rectifying any vibrational sources and being diligent on implementing proper stabilization protocols.
- Problem: Not Enough Solder
Just as the name indicates, a solder-starved joint is when the joint does not have enough solder. This depleting error can ultimately weaken your joint and increase its risk of cracking and long-term reliability.
Luckily, troubleshooting solder starved joints is as easy as reheating the joint and applying more solder until you see that the joint is strong. Some other considerations include examining the solderability of the component, testing the quality of the PCB pads, soldering speed, and checking if the flux solids are good.
- Problem: Undesirable Solder Appearances
If you have rigid, uneven, and rough outcomes, then this could very well be because of a cold solder joint. A cold solder joint is defined as a joint that did not melt entirely, which causes undesirable solder appearances. In addition, a cold solder joint can also be the catalyst for more detrimental damages in the future, such as cracking. Keep in mind that low preheat can also cause other issues such as solder balls, bridging, and insufficient hole fills.
For this, all you will need to do is reheat the joint until the solder is properly flowing again. To prevent this from occurring again, be mindful that your solder iron is adequately preheated and operating using the appropriate power.
Still Stuck?
In summary, every welder has to incorporate troubleshooting in their scope of work. However, if you are faced with a troubleshooting issue that is outside the norms listed above, don’t hesitate to reach out to the Muggy Weld team to gain more tailored support and welding product recommendations.
