RC Plane Construction: How to Solder Steel to Brass with Muggy Weld SSF 6 Silver Solder
Muggy Weld customer Rod Madison builds 1/3 scale remote control planes as a hobby, and recently shared a video testimonial and photos of his latest RC plane construction project.
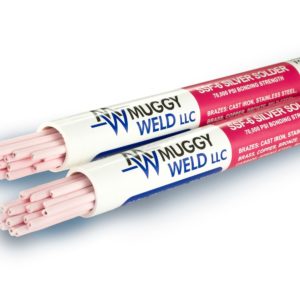
For this application, Rod needed to solder steel to brass, and chose SSF-6 Silver Solder to bond these dissimilar metals. Muggy Weld SSF 6 is flux-coated for easy application and superior bonding strength (70,000 psi). This 56% silver solder can be used to solder steel, brass, cast iron, stainless, copper, bronze, silver, gold and more–with a simple propane or oxyacetylene torch.
Rob was pleased with how quick and easy he was able to solder steel to brass with SSF 6, and wanted to share his success with other Muggy Weld viewers.
He wrote:
So, Mike, this is steel soldered to brass. The steel tab will hook to a push rod to move the elevator up and down on my 1/3 scale Piper Cub. (PLANE)
Rob used the following technique to solder steel to brass:
Pre-clean both the steel and brass with a wire brush or other abrasive agent such as a Dremel tool
Broadly heat both metals evenly until both metals start to change color. Note that steel melts at a lower temperature than brass, so slightly more heat should be focused on the brass to heat the steel and brass to the same working temperature.
Apply the flux onto the metal by gently touching the solder rod to the joint, being careful to not melt the solder.
When the metals have become a dull red color, add the solder using the flame to flow out the deposit.
After joining the steel and brass with Muggy Weld SSF 6 Silver Solder, allow the part to cool naturally.
Finally, remove the flux residue with warm water and a wire brush, and finish the metals as necessary.
Note: Please observe all AWS Safety & Health Guidelines when using Muggy Weld products.


