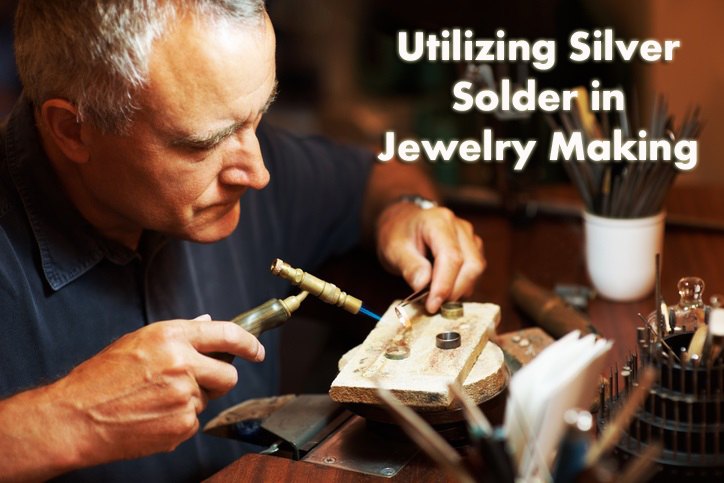
Utilizing Silver Solder in Jewelry Making
Soldering silver can become very technical, and there are plenty of different ways to go about it. However, for at-home beginners and budding silversmiths who want to start soldering jewelry, it’s important to understand the types of solder required to successfully complete the process.
If you intend to sell your jewelry, you must ensure that the silver solder you use is of hallmarking quality. In sterling silver products, the silver content is 92.5%, and to maintain the overall quality of the jewelry, the solder must contain a minimum of 67% silver.
If you’re a complete beginner, it’s a good idea to invest in an assortment pack of silver solder. There 4 different solder densities, each of which has a different melting temperature and therefore different purpose.
-
Extra Easy solder (50% silver) has a melting point of 681°C, making it ideal for repairs and soldering thin, delicate pieces of metal.
-
Easy solder (60% silver) has a melting point of 711°C and is perfect for repairs and the last solder join in your project.
-
Medium solder (70% silver) has a melting point of 747°C and is best for creating the last solder join in projects with 2 joins.
-
Hard solder (76% silver) has a melting point of 773°C and is best for jobs with one joint as the color is most similar to silver.
It’s important to take into account the different grades of solder when working on a piece with multiple joins – if you had just one grade of solder, you would risk un-soldering your previous joint when working on the next one. This means that when you solder a piece with more than one join, you should begin with hard solder and then work your way down the grades.
The Soldering Process
Before beginning the soldering process, you need to have an appropriate selection of tools at hand, as well as your solder itself.
-
Solder doesn’t actually flow naturally, which is why flux is required. It can be brought as a liquid or powder (which is then mixed with liquid to form a paste). Liquid flux is applied directly to the pieces you are joining and promotes fusion between the metal.
Muggy Weld’s SSQ-6 Silver Solder Paste offers the functions of flux while being the only silver solder paste that’s strong enough to clean oxidized stainless steel, with a syringe for precise application.
-
If you’re working with liquid flux, have a small brush (such as a paintbrush) on hand to apply it.
-
For holding the components of your work in place, tweezers are essential – particularly for small pieces of jewelry such as earrings. Muggy Weld’s Heat Absorption Paste secures delicate pieces in place for soldering while also protecting heat-sensitive areas around the welding site from warping and damage.
-
To move the solder around when you’re using it, a solder pick is a necessity. To prevent solder from sticking to the pick, go for one with a non-stick titanium tip.
Silversmithing Tips
It can be difficult to master the art of silversmithing, but with a little know-how (and plenty of practice), you’ll be able to solder quality silver jewelry in no time.
-
When working wire, sheet, or chip solder (where you cut the amount you need), always aim to use the smallest amount possible. Most joints require no more than 2mm of solder.
-
Always ensure your metal is clean to achieve the best outcome. Sanding it down or soaking it in a pickle (an acidic solution used for cleaning metal components) should always be done before soldering.
-
Safety is paramount! To avoid breathing in fumes, a respirator with filers is essential. Always tie your hair up and wear an apron – cotton fabric (while not fire-resistant) is less likely to ignite than synthetic fabrics.
-
Always ensure the room you’re working in is well-ventilated by either opening windows or getting a ventilation fan to maintain air quality.
