Ever wonder how to repair a pot metal belt buckle? Here’s another spontaneous pot metal repair video shot at the Portland Classic Car show, thanks to customer Bob Mulliman.
Bob traveled 200 miles to attend the antique car show, hoping to restore his irreplaceable 1940 Ford belt buckles. Bob possessed 3 antique belt buckles, each with the same damage: the steel buckle was broken where it holds the belt.
Bob first approached the “pop can” repair stand, and was not only turned away, he was told “it’s impossible, it’s pot metal, it cannot be repaired” and encouraged to throw away the buckles and buy new ones.
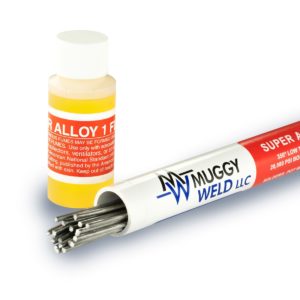
After speaking to Mike at MuggyWeld.com, Bob easily made this “impossible” repair with Super Alloy 1 and a propane torch.
Mike used a Dremel tool to clean the oxidation off the pot metal–an essential step in all Super Alloy 1 applications. He then dipped the rod into the flux and applied the flux to the belt buckle repair area. He applied indirect heat with a propane torch, continuously moving the torch to avoid overheating the irreplaceable belt buckles.
As he applied heat to the pot metal, the flux began to bubble and change color from honey to root beer brown. This is a visual indication that the pot metal has reached Super Alloy 1’s working temperature (350°F) and it’s time to add the solder rod.
Notice how little solder was applied to join the broken pot metal parts. Super Alloy 1 can also be used to bridge gaps, fill pot metal pits, and rebuild missing pieces in a variety of metals. To flow and flatten the solder, add more flux.
When the belt buckle repair was complete, Mike allowed the part to cool naturally and used a wire brush with warm water to remove the excess flux. He then used a Dremel to sand down and shape the pot metal.
Note: Please observe all AWS Safety & Health Guidelines when using Muggy Weld products.